

Consider the cost and hassle of standard tiles versus changing the walls of your kitchen. An acrylic splashback is a smooth, modern and easy-to-install replacement with the potential to redesign your entire kitchen altogether. This post will now guide you on how to fit an acrylic kitchen splashback in easy steps, including measuring and cutting, sealing and cleaning. The technique is actually easy; therefore, you don't need to be a professional in DIY projects or have a background in home remodelling to accomplish this.
1. What Are Acrylic Kitchen Splashbacks?
An acrylic kitchen splashback is a sleek wall panel made from durable acrylic material that’s placed behind your sink or hob to protect the wall from splashes and stains. Their design and functionality capabilities have rendered them extremely popular for use in kitchens.
Glass splashbacks are heavier, costlier and more difficult to install than acrylic splashbacks for kitchen. And, to top it all, they are available in an unbelievable array of colours and finishes - glossy neutrals, metallic hues bursting with brightness, even rough earth colours - so that you can match your kitchen decor perfectly.
In case you are undertaking a rapid kitchen makeover, an acrylic splashback will be one of the easy kitchen upgrades that you can implement to give the kitchen a different appearance with no mess involved, as opposed to tiling.
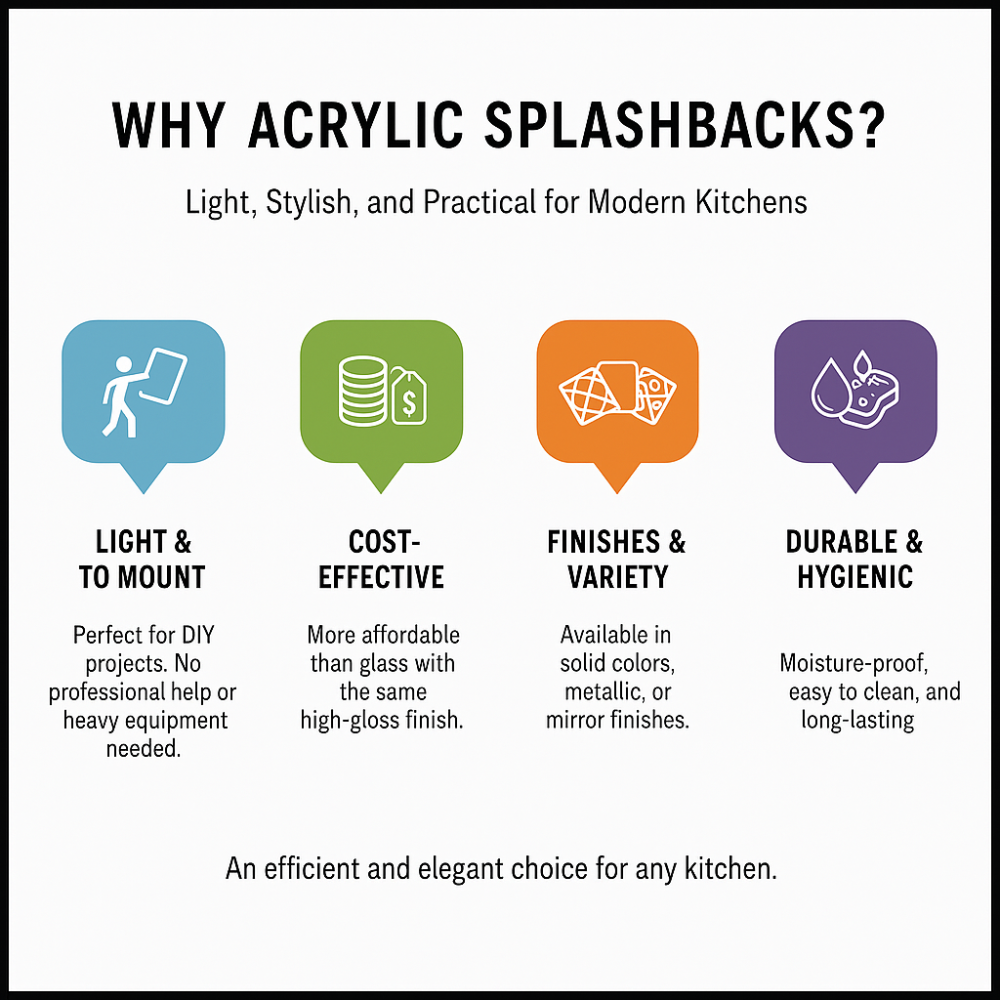
2. Why Acrylic Splashbacks?
Compared to traditional splashbacks, which include tiles, glass, or aluminium splashbacks, acrylic splashback possesses numerous benefits.
Here's why they have an edge:
-
Light and easy to mount: Perfect for DIY; you will need no professional help or heavy-duty equipment.
-
Finishes Variety: Can be solid colour, metallic or even mirror finish.
-
Finishes Variety: May be solid colour, metallic or even mirror finish.
-
Sturdy and clean: They are damp-proof and can be easily washed, which makes them suitable for kitchens.
Whether you're working on your first DIY kitchen splashback ideas or a professional kitchen, acrylic is a friendly and classy option that is both efficient and graceful.
3. Supplies and Equipment
The following tools and materials are required before you begin the installation of your acrylic splashback:
-
Acrylic splashback panel(s)
-
Measuring tape and pencil
-
Spirit level
-
Adhesive or splashback glue (non-solvent-based)
-
Fine-tooth saw, jigsaw, or cutting tool
-
Masking tape and spacers
-
Sanitising material and silicone rubber sealant.
Safety Notice: When learning how to cut acrylic splashbacks, it is essential to wear protective eyewear and gloves. Use a straight surface to cut so that the edges of the panel will not be broken or chipped off.
4. How to Install an Acrylic Splashback
Step 1: Measure & Plan
-
Measurements of the part of the wall upon which the splashback is to be attached must first be done very carefully.
-
Draw dimensions with a pencil/ measuring tape.
-
Include sockets, corners, and switches — for an exact fit.
-
Double-check that the item is aligned using a spirit level before cutting.
Precise measurements are essential in order to measure and cut splashback panels accurately.
Step 2: Cut the Acrylic Panel
-
Use masking tape to cut a straight line on the paper without scratching it.
-
Shave with a jigsaw or fine-tooth blade.
-
Smooth out sharp edges using fine-grit sandpaper.
-
For fitting splashbacks around sockets, cut with caution, then cut small holes using a hole saw or jigsaw.
Do not rush; this is something that should be done gradually so as not to have any cracks or rough edges.
Step 3: Surface Preparation
-
Wipe the wall surface, then put on the panel.
-
Dust, grease, and debris should be cleared away.
-
Wipe and dry the wall to ensure it sticks together properly.
A smooth, clean surface is a must in a lasting installation.
Step 4: Fix the Adhesive
-
Choose a suitable adhesive for acrylic splashbacks, one that is preferably non-solvent-based to avoid destruction.
-
Apply strips of adhesive vertically in a uniform manner around the back of the panel.
-
Do not apply too close to the sides, no overflowing glue.
To perform to the best of their ability, high-quality adhesive paste or splashback glue should be used on the wall panelling within the kitchen.
Step 5: Paste the Splashback on the Wall
Once the adhesive has been used:
-
Hold the panel close to the wall in a position which coincides with your marks.
-
Press the buttons firmly without pressing too hard to create a decent seal.
-
Use edge spacers to hold an equal distance.
You can even use splashback tiles for kitchen as an alternative to have a textured or tiled appearance.
Step 6: Seal the Edges
-
After securing the splashback:
-
Apply silicone sealant around the edges to keep out moisture.
-
Apply a smooth motion to achieve clean lines.
-
Allow the sealant to cure within the guidelines of the manufacturer.
Properly sealing kitchen splashbacks will help them last longer and prevent water leakage behind the panel.
5. Cleaning and Maintenance Instructions
Splashbacks made of acrylic are relatively easy to maintain, which helps them remain fresh and new over the years.
-
Wash frequently with gentle soap and a soft microfiber cloth.
-
Take care not to use abrasive cleaners, scrubbers or severe chemicals.
-
An anti-static cleaner should be used to eliminate fingerprints or smudges.
-
Light scratches can be removed by buffing their surface with acrylic polish or a fine polishing compound.
These splashback cleaning and maintenance tips will ensure that your kitchen walls continue to shimmer without any difficulties.
6. Common Mistakes to Avoid
Even a simple project like installing an acrylic kitchen splashback can go awry unless you are very careful. Avoid these common pitfalls:
-
Excessive cutting rate: This results in cracks or melted edges.
-
Application of the wrong adhesive: Solvent adhesives may cause damage to acrylic.
-
Accommodation of surface preparation: Rough or dusty walls minimise adhesion.
-
Lack of proper baiting: Uncovered edges may hold water and develop mould within them.
Carefully read and follow every step in order to complete the work professionally.
Conclusion
An acrylic splashback is one of the simplest methods of updating your kitchen. They are affordable, updated, and simple to install, making them a popular choice among homeowners seeking easy kitchen upgrades.
In smooth, shiny, subtle matte or striking colour finish options, you are sure to find a finish that matches your kitchen design.
Transform your kitchen with Perfect Splashbacks' top-notch panels, offering style and strength.
Need more inspiration? Explore their whole line of acrylic splashbacks for kitchen and aluminium splashbacks to find your perfect match.
FAQs
1. Can splashbacks using coloured acrylic sheet be used in a kitchen?
Yes! Coloured acrylic sheets are the best for kitchen splashbacks. They are robust, shiny and available in a variety of finishes to suit every interior design.
2. Can acrylic sheets withstand cooking areas?
The maximum temperature that acrylic can withstand is around 80°C.. A minimum distance of 10 cm between the splashback and the direct heat source, e.g., gas hobs, should be maintained.
3. How do you wash and maintain coloured acrylic sheets?
Wash using a soft cloth and mild soapy water. To prevent scratches, do not use harsh cleaners or a scrubbing pad.
4. Is using acrylic better than using glass splashbacks?
Acrylic splashbacks are lighter in weight, cheaper, and they are faster to install. The same sleek look is also offered without the glass weakness.
5. Can I self-fit coloured acrylic sheets?
Yes! With the right tools and acrylic splashback fitting tips, DIY fitting is straightforward and achievable within a few hours.
6. Would coloured acrylic sheets fade?
High-quality acrylic panels like Perfect Splashbacks are UV-stabilised. They do not fade in quality, losing their colour and clarity as years pass.